jQuery 简介及常见事件
本文共 4454 字,大约阅读时间需要 14 分钟。
一、jQuery简介
( 一)概述
- jQuery是一个快速、简洁的JavaScript框架,是一个优秀的JavaScript代码库。
- jQuery是一个轻量级的"写的少,做的多"的JavaScript库。
- 它封装JavaScript常用的功能代码,提供一种简便的JavaScript设计模式,优化HTML文档操作、事件处理、动画设计和Ajax交互。
(二)特性
核心特性:
- 具有独特的链式语法和短小清晰的多功能接口;
- 具有高效灵活的css选择器,并且可对CSS选择器进行扩展;
- 拥有便捷的插件扩展机制和丰富的插件。
兼容性:
jQuery兼容各种主流浏览器,如IE 6.0+、FF 1.5+、Safari 2.0+、Opera 9.0+等。
(三)功能
- HTML 元素选取
- HTML 元素操作
- CSS 操作
- HTML 事件函数
- JavaScript 特效和动画
- HTML DOM 遍历和修改
- AJAX
- Utilities
二、jQuery安装
1.下载 jQuery
从 中下载。
jQuery 库是一个 JavaScript 文件,您可以使用 HTML 的
<head><script src="jquery-1.10.2.min.js"></script></head>2.从 CDN 中载入 jQuery, 如从 Google 中加载 jQuery
例如:百度CDN
<head><script src="https://apps.bdimg.com/libs/jquery/2.1.4/jquery.min.js"></script></head>三、jQuery语法
jQuery 语法是通过选取 HTML 元素,并对选取的元素执行某些操作。
基础语法: $(selector).action()
- 美元符号定义 jQuery
- 选择器(selector)“查询"和"查找” HTML 元素
- jQuery 的 action() 执行对元素的操作
实例:
$(this).hide() - 隐藏当前元素$("p").hide() - 隐藏所有 <p> 元素$("p.test").hide() - 隐藏所有 class="test" 的 <p> 元素$("#test").hide() - 隐藏所有 id="test" 的元素文档就绪事件:
$(document).ready(function(){ // jQuery 代码... });这是为了防止文档在完全加载(就绪)之前运行 jQuery 代码,即在 DOM 加载完成后才可以对 DOM 进行操作。
如果在文档没有完全加载之前就运行函数,操作可能失败。
也可以简化写成:
$(function(){ // jQuery 代码... });四、jQuery选择器
jQuery 中所有选择器都以美元符号开头:$()。
(一)元素选择器
jQuery 元素选择器基于元素名选取元素。
在页面中选取所有 <p> 元素:
$("p")<!DOCTYPE html><html><head> <meta charset="utf-8"> <title>Title</title> <script src="jquery-3.4.1.min.js"> </script> <!--将h2元素隐藏--> <script> $(document).ready(function(){ $("button").click(function(){ $("h2").hide(); }); }); </script></head><body><h2>这是一个标题</h2><p>这是一个段落。</p><p>这是另一个段落。</p><button>点我将h2标题隐藏</button></body></html>

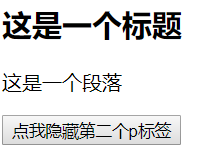
(二)id 选择器
jQuery #id 选择器通过 HTML 元素的 id 属性选取指定的元素。
页面中元素的 id 应该是唯一的,所以您要在页面中选取唯一的元素需要通过 #id 选择器。
语法
$("#test")<!DOCTYPE html><html><head> <meta charset="utf-8"> <title>Title</title> <script src="jquery-3.4.1.min.js"> </script> <script> $(document).ready(function(){ $("button").click(function(){ $("#test").hide(); }); }); </script></head><body><h2>这是一个标题</h2><p>这是一个段落</p><p id="test">这是另外一个段落</p><button>点我隐藏第二个p标签</button></body></html>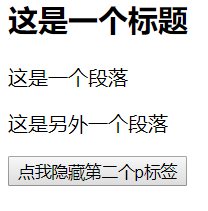
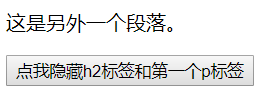
(三).class 选择器
jQuery 类选择器可以通过指定的 class 查找元素。
语法
$(".test")<!DOCTYPE html><html><head> <meta charset="utf-8"> <title>Title</title> <script src="jquery-3.4.1.min.js"> </script> <script> $(document).ready(function(){ $("button").click(function(){ $(".test").hide(); }); }); </script></head><body><h2 class="test">这是一个标题</h2><p class="test">这是一个段落。</p><p>这是另外一个段落。</p><button>点我隐藏h2标签和第一个p标签</button></body></html>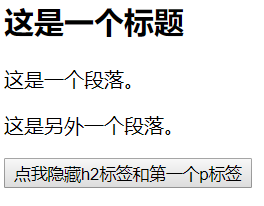
(四)jQuery常见事件
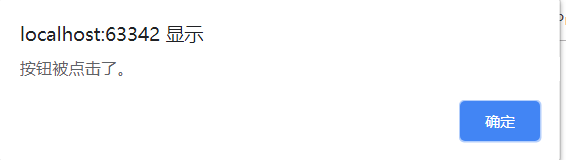
(1)click事件
<!DOCTYPE html><html><head> <meta charset="utf-8"> <title>Title</title> <script src="jquery-3.4.1.min.js"> </script> <script> $(document).ready(function(){ $("input").click(function(){ alert("按钮被点击了"); }); }); </script></head><body><p>点击这个按钮</p><input type="button" value="按钮"></body></html>
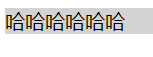
(2)mouseenter和mouseleave事件
当鼠标指针穿过(进入)被选元素时,会发生 mouseenter 事件;当鼠标指针离开被选元素时,会发生 mouseleave 事件。
<!DOCTYPE html><html><head> <meta charset="utf-8"> <title>Title</title> <script src="jquery-3.4.1.min.js"> </script> <script> $(document).ready(function(){ $("p").mouseenter(function(){ $("p").css("background-color","red"); }); $("p").mouseleave(function(){ $("p").css("background-color","lightgray"); }); }); </script></head><body><p>哈哈哈哈哈哈</p></body></html>鼠标放上来:

鼠标离开后:
(3)keypress事件
<!DOCTYPE html><html><head> <meta charset="utf-8"> <title>Title</title> <script src="jquery-3.4.1.min.js"> </script> <script> i=0; $(document).ready(function(){ $("input").keypress(function(){ $("span").text(i+=1); }); }); </script></head><body>输入数字: <input type="text"><p>按键盘的次数: <span>0</span></p></body></html>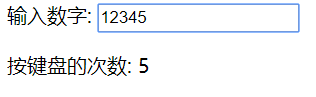
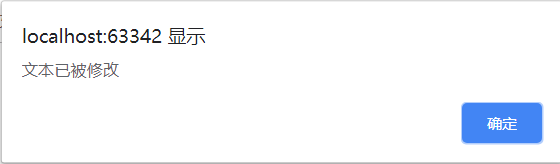
(4)change事件
<!DOCTYPE html><html><head> <meta charset="utf-8"> <title>Title</title> <script src="jquery-3.4.1.min.js"> </script> <script> $(document).ready(function(){ $("input").change(function(){ alert("文本已被修改"); }); }); </script></head><body><input type="text"><p>在输入框写一些东西,然后按下回车键或点击输入框外部</p></body></html>
转载地址:http://lkwm.baihongyu.com/
你可能感兴趣的文章
oracle典型安装失败,安装oracle 10失败
查看>>
Oracle内存结构详解(四)--Oracle SGA其他组成部分
查看>>
Oracle分析函数之LEAD和LAG
查看>>
Oracle创建database link(dblink)和同义词(synonym)
查看>>
Oracle和SQL server的数据类型比较
查看>>
oracle用户改名
查看>>
Oracle用游标删除重复数据
查看>>
Oracle监听配置、数据库实例配置等
查看>>
Oracle系列:安装Oracle RAC数据库(二)
查看>>
oracle系统 介绍,ORACLE数据库管理系统介绍
查看>>
oracle获取数据库表、字段、注释、约束等
查看>>
oracle表空间查询维护命令大全之三(暂时表空间)史上最全
查看>>
oracle表访问方式
查看>>
Oracle触发器
查看>>
Oracle计划将ZGC项目提交给OpenJDK
查看>>
oracle账号共享
查看>>
Oracle闪回技术(Flashback)
查看>>
oracle零碎要点---ip地址问题,服务问题,系统默认密码问题
查看>>
oracle零碎要点---oracle em的web访问地址忘了
查看>>
Oracle零碎要点---多表联合查询,收集数据库基本资料
查看>>